

So in the last chapter we talked about the magic of custom hooks and how custom hooks help us in modularizing, our react code.
In this chapter we will see how we can build a custom Dropdown component and use the custom hook that we created earlier. So first of all let us add the markup for the Dropdown component like so.
*Note: This article is a part of the Delightful React Series, as part of which, I am releasing one chapter every day for 25 days. Please support me in anyway you can! *
Starting codesandbox
Here is the code sandbox that you can use as the starting point for this chapter.
Follow the instructions along and learn for yourself!
Let's begin
- So first of all let us add the JSX markup for the Dropdown component like so. Create a file named
SelectDropdown.jsin /src/components folder, and add the following markup.
//src/components/SelectDropdown.js
export default function SelectDropdown() {
  return (
    <div className="dropdown">
      <button>React</button>
      <ul className="dropdown-menu">
        <li>React </li>
        <li>Javascript </li>
        <li>Node </li>
        <li>Angular </li>
      </ul>
    </div>
  );
}
Now let us import our Dropdown component into AllPosts component in the homepage (pages/index.js) and render it like so.
//pages/index.js

function AllPosts(){
   // ...
   return <div>
      <div className="search-posts">
        <input
          type="text"
          value={searchInputProps.value}
          onChange={searchInputProps.onChange}
        />
        <SelectDropdown />
        <div className="flex place-items-center">
          ...
        </div>
      </div>
      <div className="post-list">
       ...
      </div>
    </div>
}
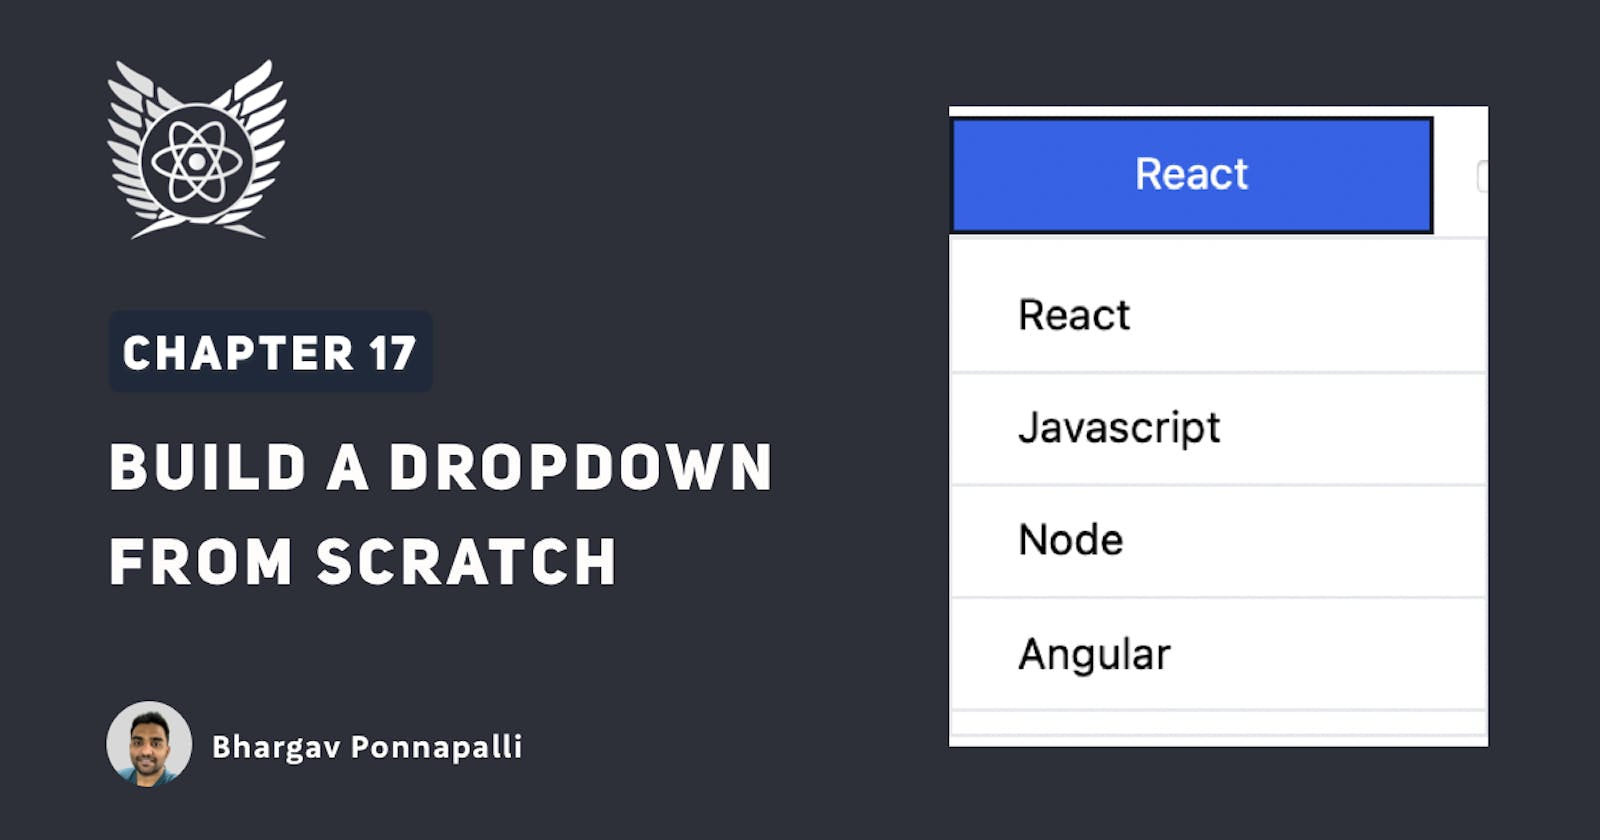
Our app should now look something like this.
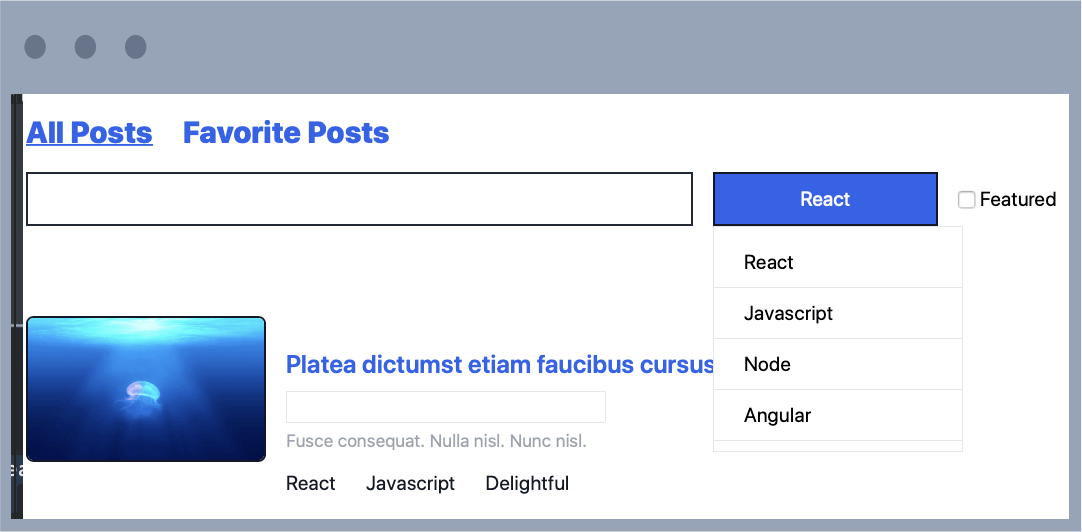
We should now see our Dropdown component rendered, but it is not very responsive, it does not react to any user events.
Add toggling behavior
Let us first add a toggling behavior to our component. We will use our useToggle hook to open and close our Dropdown component. Let us attach it to the button's onClick prop.
//src/components/SelectDropdown.js

import useToggle from "../hooks/useToggle";

export default function SelectDropdown() {
  const [isDropdownOpen, toggleDropdownOpen] = useToggle(false);
  return (
    <div className="dropdown">
      <button onClick={toggleDropdownOpen}>React</button>
      {isDropdownOpen && (
        <ul className="dropdown-menu">
          <li>React </li>
          <li>Javascript </li>
          <li>Node </li>
          <li>Angular </li>
        </ul>
      )}
    </div>
  );
}
Remove hardcoding and use variables instead
So the Dropdown is now opening and closing, but all the values are hard coded. So let us remove that. Let us create a variable called options and put our options inside it. Let us render our options as list elements.
//src/components/SelectDropdown.js
import useToggle from "../hooks/useToggle";

export default function SelectDropdown() {
  const [isDropdownOpen, toggleDropdownOpen] = useToggle(false);
  const options = ["React", "Javascript", "Node", "Angular"];
  const selectedValue = options[0];
  return (
    <div className="dropdown">
      <button onClick={toggleDropdownOpen}>{selectedValue}</button>
      {isDropdownOpen && (
        <ul className="dropdown-menu">
          {options.map((option) => (
            <li key={option}>{option}</li>
          ))}
        </ul>
      )}
    </div>
  );
}
Using state to handle selected value
Now finally, it is time to track which option is currently selected. So the best way to do that is to create a state variable inside our Dropdown component.
//src/components/SelectDropdown.js

import useToggle from "../hooks/useToggle";
import { useState } from "react";

export default function SelectDropdown() {
  const [isDropdownOpen, toggleDropdownOpen] = useToggle(false);
  const options = ["React", "Javascript", "Node", "Angular"];
  const [selectedValue, setSelectedValue] = useState(options[0]);
  return (
    <div className="dropdown">
      <button onClick={toggleDropdownOpen}>{selectedValue}</button>
      {isDropdownOpen && (
        <ul className="dropdown-menu">
          {options.map((option) => (
            <li key={option}>{option}</li>
          ))}
        </ul>
      )}
    </div>
  );
}
Updating state variable
Now, let us add an event listener to the list item element. And whenever a list item option is clicked, we will change the selected item to that list item.
//src/components/SelectDropdown.js

import useToggle from "../hooks/useToggle";
import { useState } from "react";

export default function SelectDropdown() {
  const [isDropdownOpen, toggleDropdownOpen] = useToggle(false);
  const options = ["React", "Javascript", "Node", "Angular"];
  const [selectedValue, setSelectedValue] = useState(options[0]);
  return (
    <div className="dropdown">
      <button onClick={toggleDropdownOpen}>{selectedValue}</button>
      {isDropdownOpen && (
        <ul className="dropdown-menu">
          {options.map((option) => (
            <li
              onClick={function () {
                setSelectedValue(option);
              }}
              key={option}
            >
              {option}
            </li>
          ))}
        </ul>
      )}
    </div>
  );
}
Awesome. So now we are able to update the selected option inside our drop down.
Close the dropdown after selection
We can also add a nice feature that when we click on a list item, we can also close the Dropdown since we have already selected a value.
{options.map((option) => (
  <li
    onClick={function () {
      setSelectedValue(option);
      toggleDropdownOpen();
    }}
    key={option}
  >
    {option}
  </li>
))}
Reusability?
All right, now we have a Dropdown component. However, it is not very reusable. To make a component reusable we need it to work in various scenarios with various kinds of props.
So in this case we want to make sure that our Dropdown can handle various kinds of options. So that means that we need to make our options, a prop.
Let us add an options prop in our page.
//pages/index.js

//...
function AllPosts(){

 return <div>
     ...
    <SelectDropdown
       options={["React", "Javascript", "Node", "Angular"]}
     />
     ...
  </div>
}
Access options as props.
Now let us access the props and use that instead of the hard coded options variable that we created earlier.
//src/components/SelectDropdown.js

export default function SelectDropdown({ options }) {
  //...
}
How do we access the current selected value?
Awesome. So now we are able to handle various kinds of options. However, there is a problem.
We want to be able to filter the list of blog posts in our homepage by using the tag that has been currently selected in the Dropdown.
But how do we pass around data that is inside a component to its sibling, there isn't really a way to do that because we know that in react data flows from top to bottom and not from one side to another.
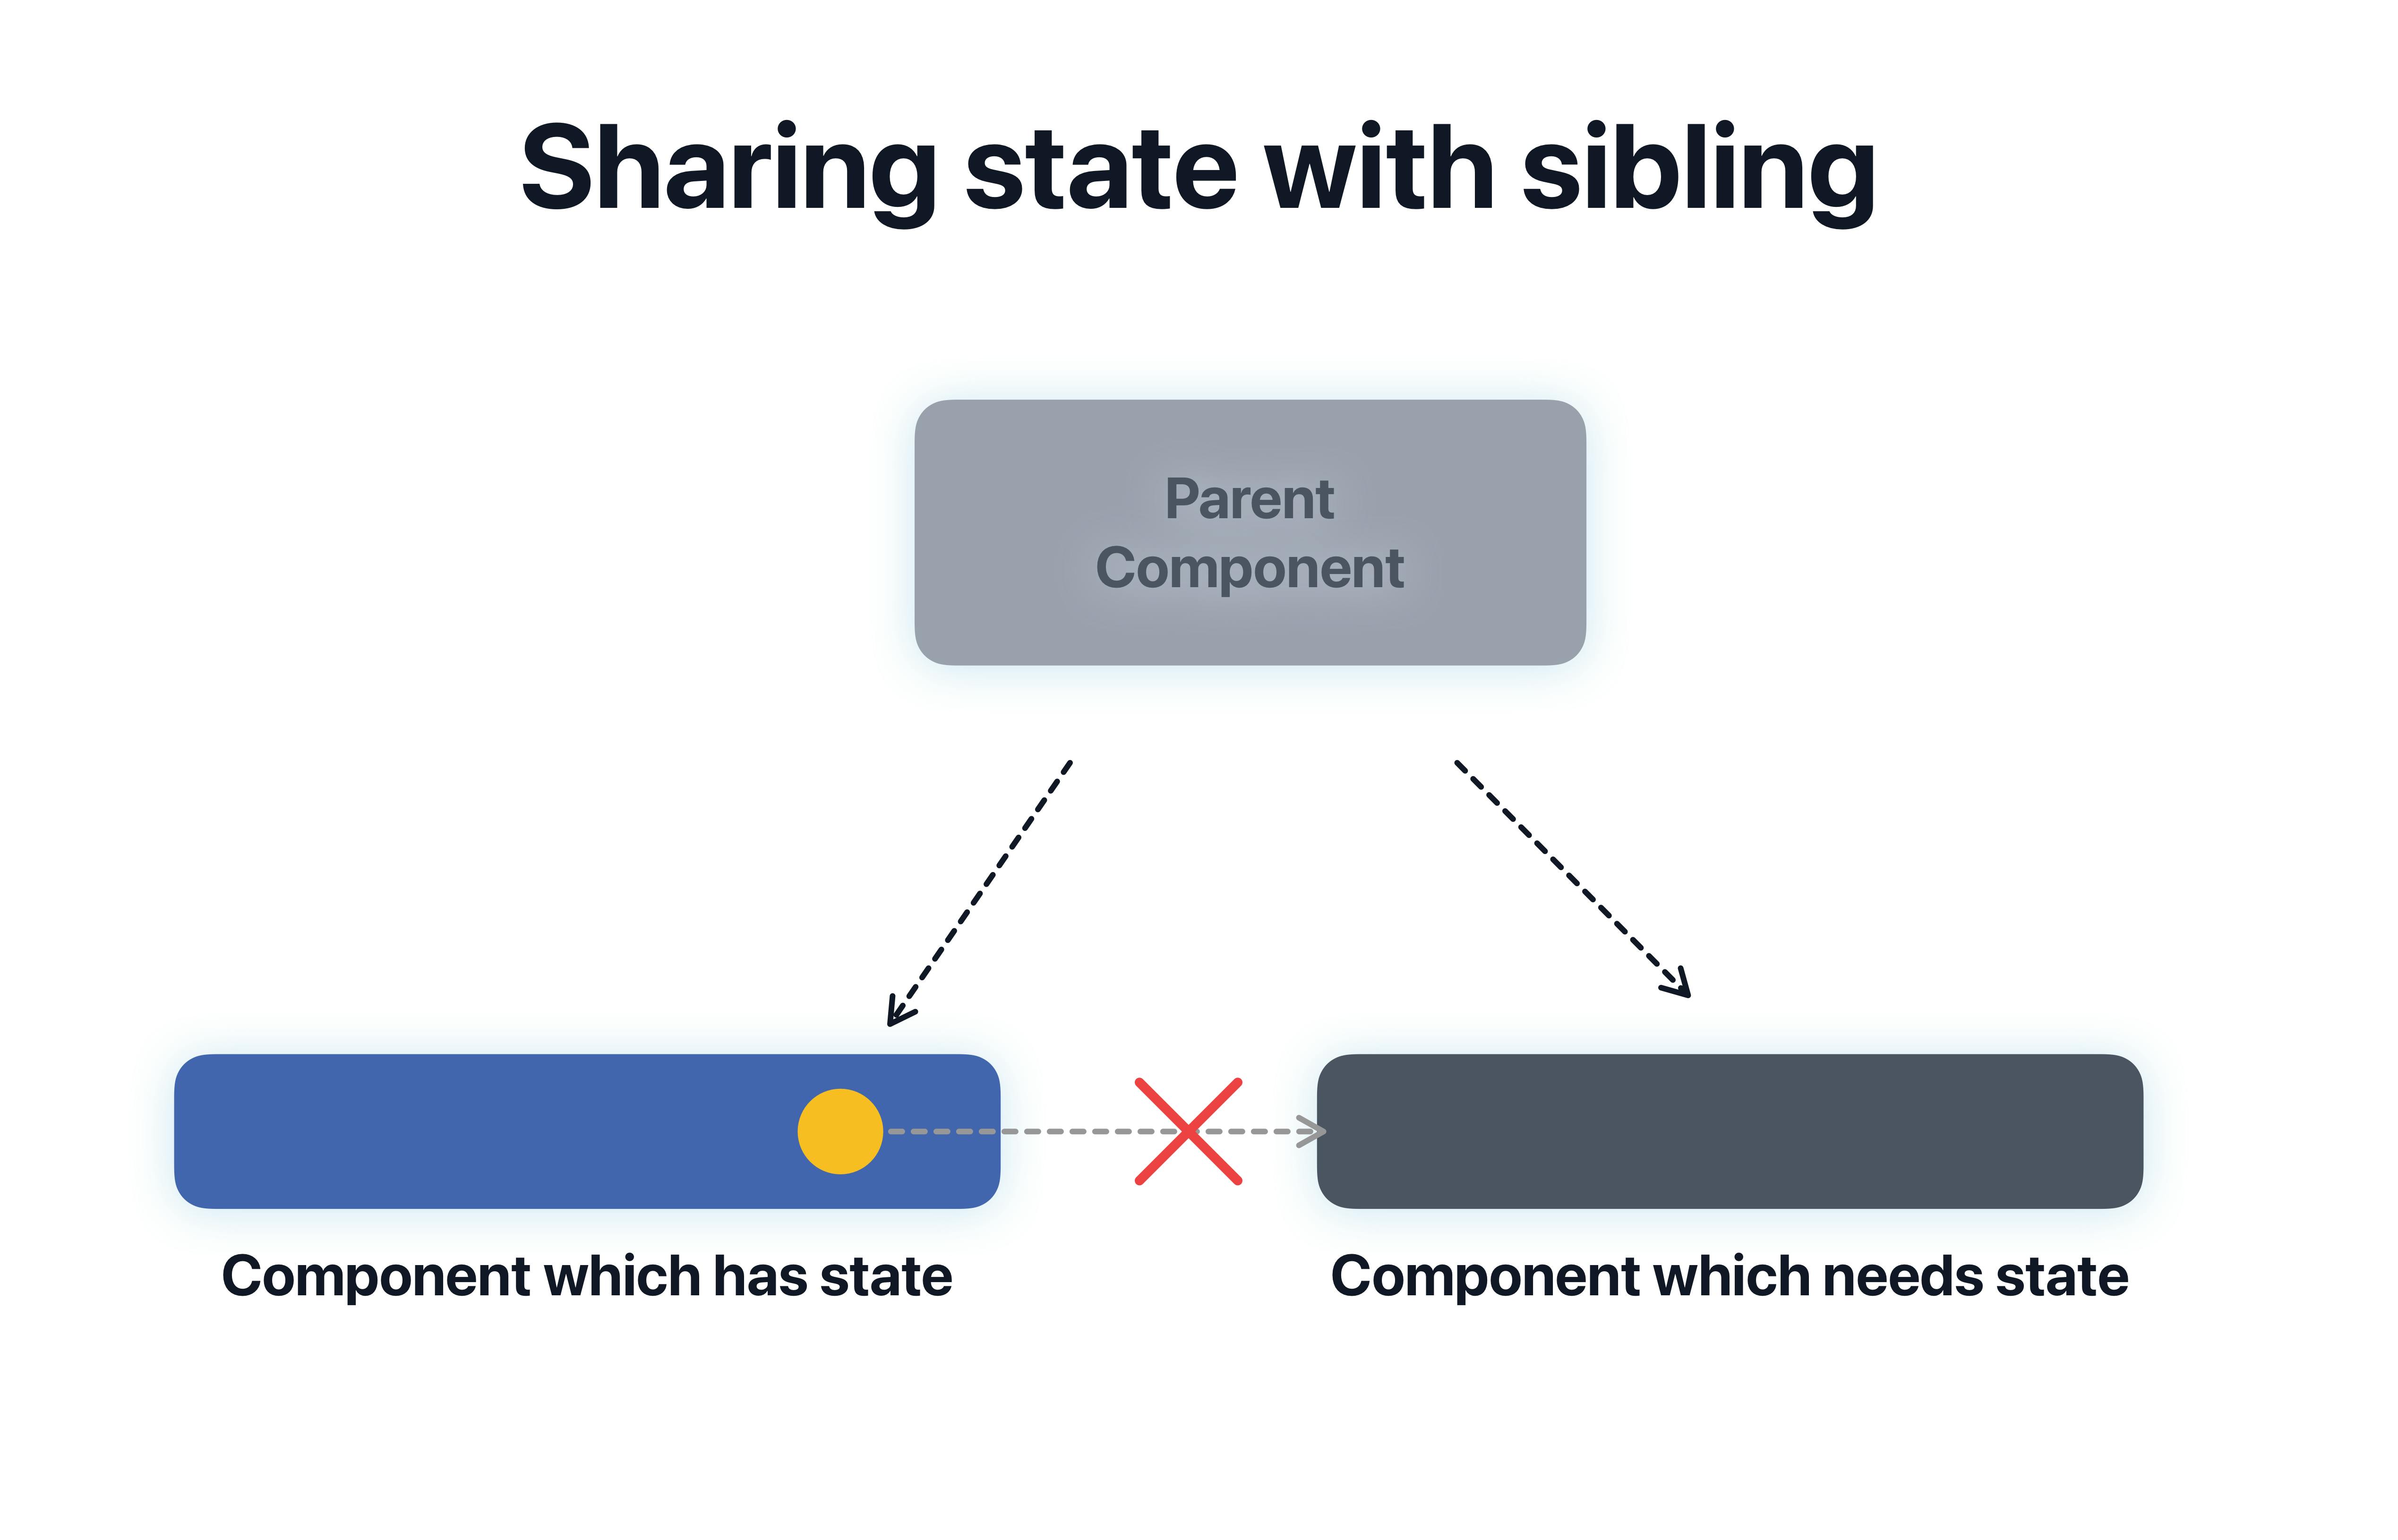
- So siblings can't really share data amongst themselves in React. For siblings to share common data, it is important that the common data is present in the parent.
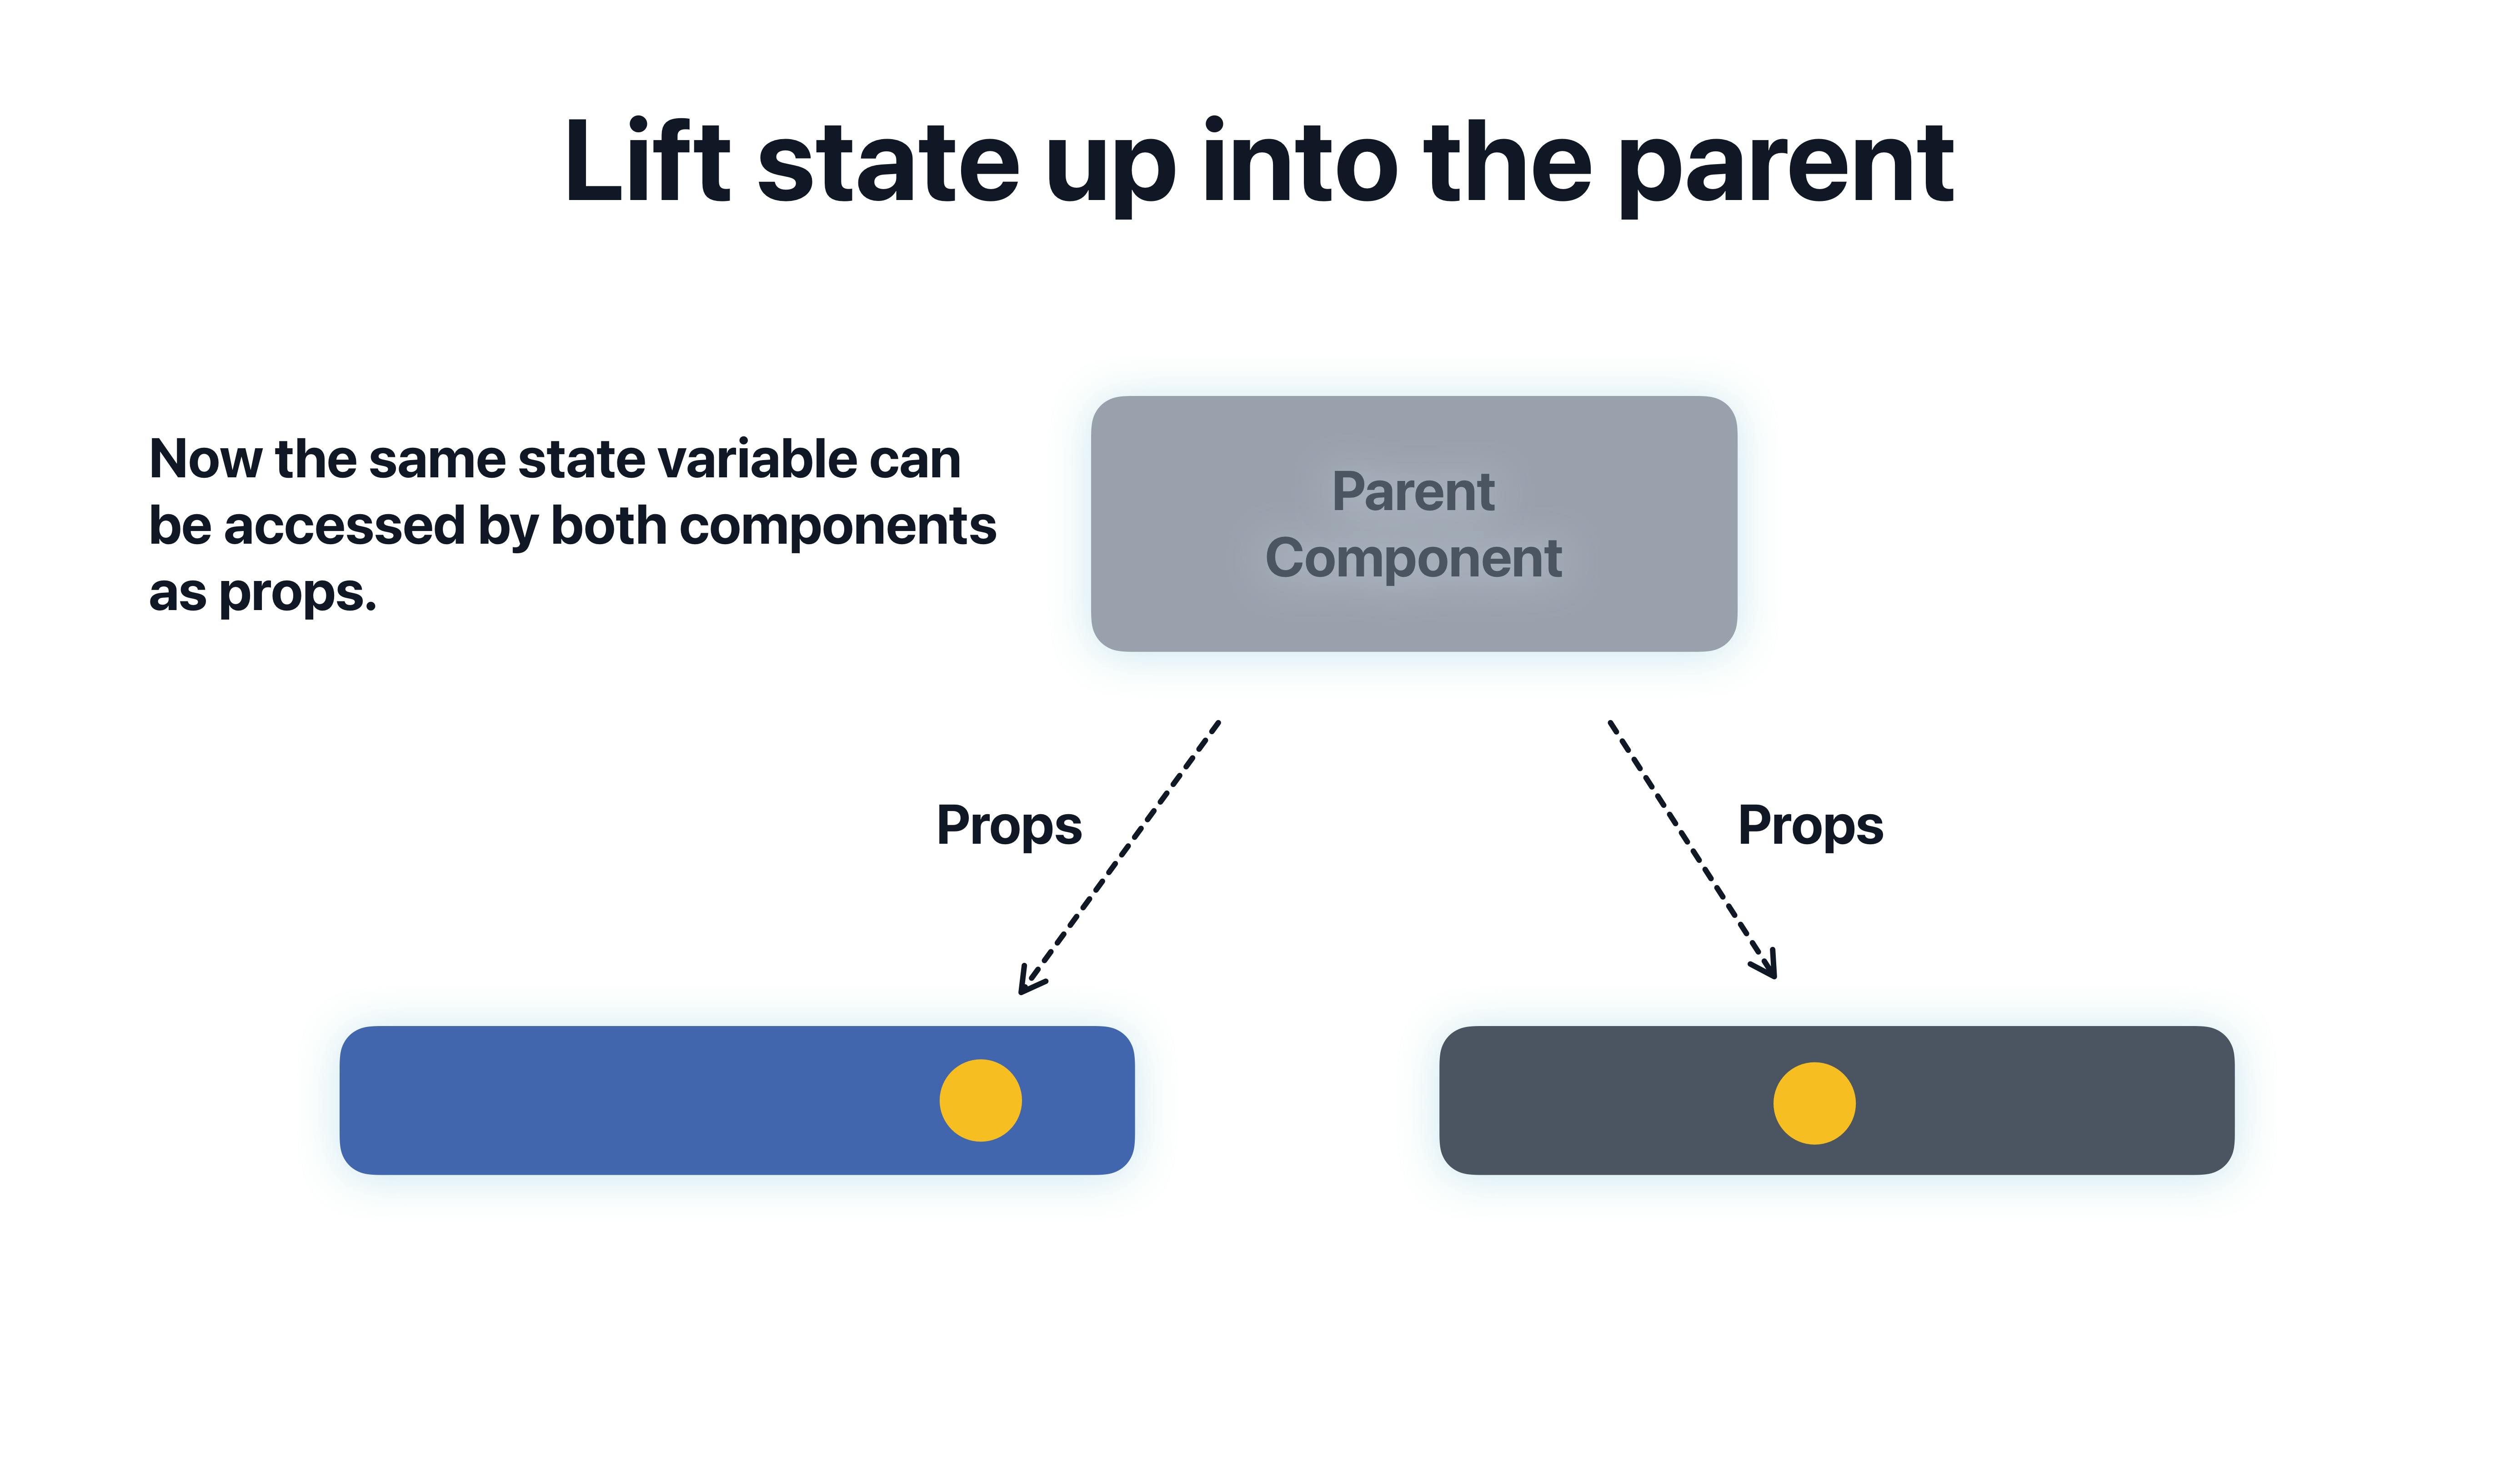
So we need to create our selected state variable inside the parent of either of these siblings. So let us do that.
- Let us create a state variable, similar to the one that we created in the Dropdown and inside the parent component.
- Now let us pass it down as props to the Dropdown component.
// pages/index.js

const tagsList = ["React", "Javascript", "Node", "Angular"];

function AllPosts(){
  const [selectedTag, setSelectedTag] = useState(tagsList[0]);

  <SelectDropdown
          options={tagsList}
          selectedOption={selectedTag}
          setSelectedOption={setSelectedTag}
  />
}
And finally let us make these changes inside the Dropdown component to access the selected option, and the setter function as props.
//src/components/SelectDropdown.js

import useToggle from "../hooks/useToggle";
import { useState } from "react";

export default function SelectDropdown({
  options,
  selectedOption,
  setSelectedOption
}) {
  const [isDropdownOpen, toggleDropdownOpen] = useToggle(false);
  return (
    <div className="dropdown">
      <button onClick={toggleDropdownOpen}>{selectedOption}</button>
      {isDropdownOpen && (
        <ul className="dropdown-menu">
          {options.map((option) => (
            <li
              onClick={function () {
                setSelectedOption(option);
                toggleDropdownOpen();
              }}
              key={option}
            >
              {option}
            </li>
          ))}
        </ul>
      )}
    </div>
  );
}
Awesome. So now we are able to change data in a parent component by using the Dropdown component. Notice how the dropdown sent data back to it's parent?
Child sending data to parent?
Now this is a very important mechanism in react. Notice how we have passed a setter function as props to a child component.
- This allows a child component to send back information to the parent component.
- We know that data in react flows from top to bottom.
- However, a child can send back data to a parent, by using a prop, which is a function.
- Just like how the Dropdown component modified a state variable in the parent component by using a function that was sent to it as a prop.
- Now that the state variable is present in the parent component. We can now use it to filter our blog posts, even further, let us add that logic like so, and modify our filtering logic to only show the blog posts that have been selected by the Dropdown.
//pages/index.js

  const filteredBlogPosts = BLOGPOSTS.filter((blogPostObject) => {
    // if searchText is blank then show all posts
    if (!searchText) {
      return true;
    }
    if (blogPostObject.title.includes(searchText)) {
      return true;
    } else {
      return false;
    }
  })
    .filter((blogPostObject) => {
      if (showFeaturedOnly) {
        return blogPostObject.featured;
      } else {
        return true;
      }
    })
    .filter((blogpostObject) => {
      return blogpostObject.tags.includes(selectedTag);
    });
That should do it. Checkout the sandbox here for the finished code and preview.
As an extension, try adding an option "All" to our dropdown as an exercise and when this option is selected, show all the posts.
Great work
In this chapter we learned how to create a select Dropdown for ourselves. We also saw how we can implement a Dropdown in two ways, depending on the requirements.
- If we don't have to share a data with any anything outside, then we can have a state variable inside the Dropdown itself.
- However, if we need to share the selected option to the outside world, then we need to access the state variable as props inside the Dropdown component. You can use either approach depending on which scenario suits you best. Great work. Once again, I'll see you in the next chapter.
Thanks and Please support my work
- Writing blog posts and making videos is an effort that takes many hours in my day. I do it because I love teaching and make great content.
- However, I need your support too. Please support my work and follow my social accounts to help me continue to make great content.
- Here are my social links.
Follow me on Twiter
Subscribe to my channel on Youtube
Thank you!